Touch Effect | Xamarin.Forms | Xamarin Community Toolkit
Hello friends! Today I want to show you how to use XamarinCommunityToolkit (Not the entire package for sure, but one interesting feature :P). And this feature is TouchEffect (And you should “touch” this effect indeed. I promise you won’t regret it)
So, what is TouchEffect?
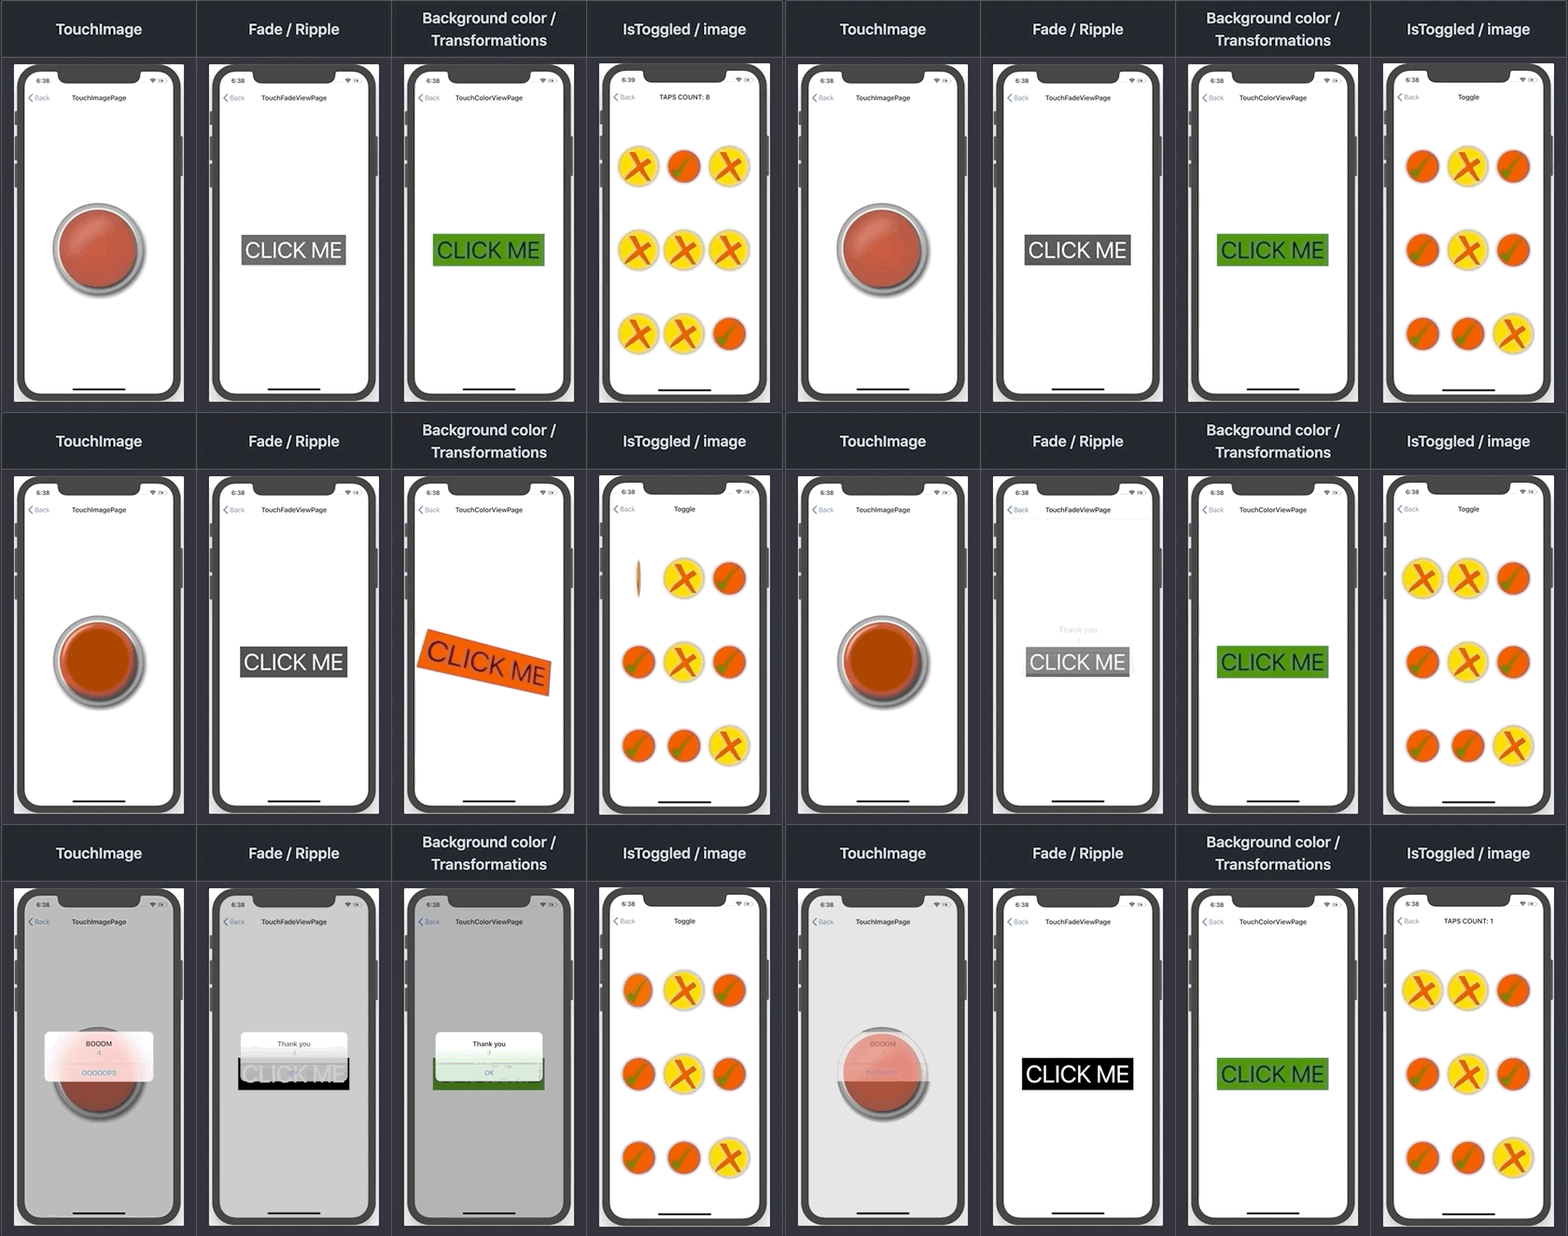
TouchEffect allows any view (not only buttons) to handle “Normal”, “Pressed”, “Hovered” states and change its appearance according to the current state.
It replaces TapGestureRecognizer and even extends its functionality.
- Would you like to change Opacity when the StackLayout is pressed? — No problem.
- Do you want to increase the Scale when the Grid is hovered by the mouse cursor? — Easy!
- Ohh, you want to replicate native platform button behavior (Tilt for UWP, Ripple for Android), don’t you? — No problem, sir. That’s supported.
And of course, you can mix various settings and customize your touches as you prefer.
And a BONUS feature: TouchEffect can detect Long Presses, which sometimes
is required.
Well, too many words, right?. I know you want to see how difficult will it be to start using TouchEffect.
I am a big fan of Kym Phillpotts work. He did amazing stuff on his streams! That’s why I decided to fork his repository and show how to start using TouchEffect in his sample app.
https://github.com/AndreiMisiukevich/MarvelCards
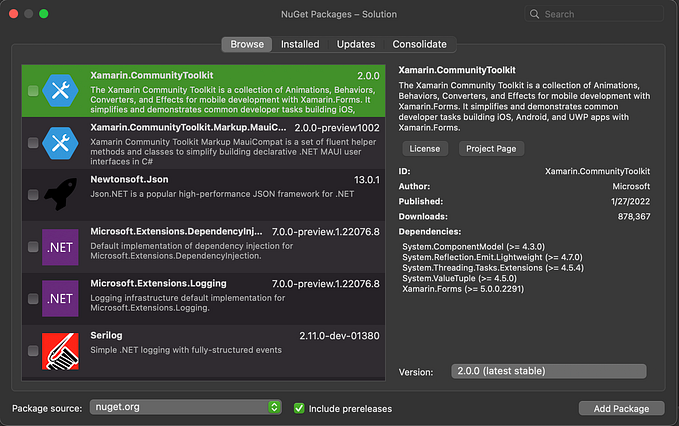
- First of all, we should add Xamarin.CommunityToolkit to all of your Xamarin.Forms projects (including platform projects iOS, Android, UWP, etc.). Keep in mind that XCT requires Xamarin.Forms v.5. That’s it! No other initialization required (Quite easy for far, right :P?)

2. Navigate to the Xaml file where you intend to use TouchEffect (It can be a C# file as well, but in this example I want to show how to use it in Xaml).
And add the next namespace to the root element.
xmlns:xct="http://xamarin.com/schemas/2020/toolkit"3. Now we can use TouchEffect! You even needn’t have to add TouchEffect to the effects collection of your view. Just use the attached properties.
For example, if I want to achieve animated scaling of view while keep it pressing, I will use the next properties
<ContentView                              xct:TouchEffect.AnimationDuration="500"                              xct:TouchEffect.AnimationEasing="CubicInOut"
xct:TouchEffect.PressedScale="1.2"                                                  xct:TouchEffect.Command={Binding PressedCommand}>
    <Image Source="{Binding Image}" />
<ContentView>
TouchEffect.Command will be executed only if you press the view and release the finger inside the view’s boundaries.
If you want to go with the easiest way and use native animation, then just
<StackLayout                              xct:TouchEffect.NativeAnimation="True"                                                                             xct:TouchEffect.Command={Binding PressedCommand}>
    <Image Source="{Binding Image}" />
<StackLayout>
Some platforms also support customizing of native animation color, radius, and shadow radius (Feel free to use corresponding properties).
4. Let’s look at how to handle Long Press!
<ContentView                              xct:TouchEffect.LongPressCommand="{Binding LongPressedCommand}">
    <Image Source="{Binding Image}" />
<ContentView>
You can customize the Long Press Duration threshold by setting LongPressDuration property (by default it’s 500 milliseconds).
It’s high time to see how the app was looking before and how it looks now!
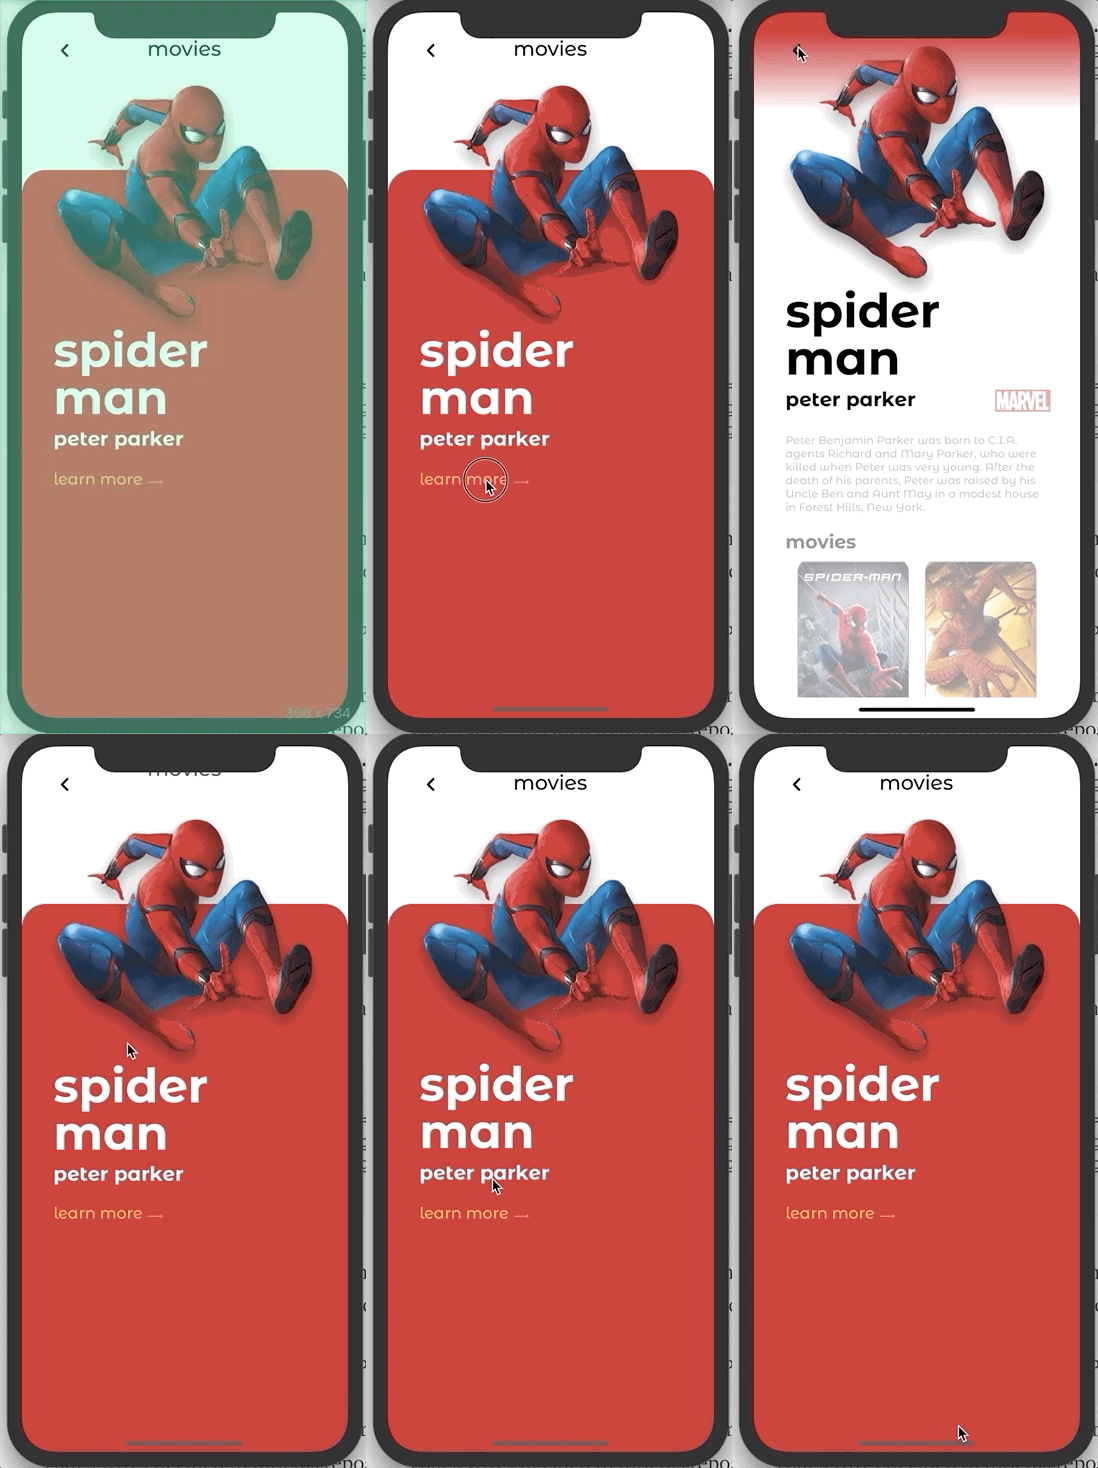
BEFORE:
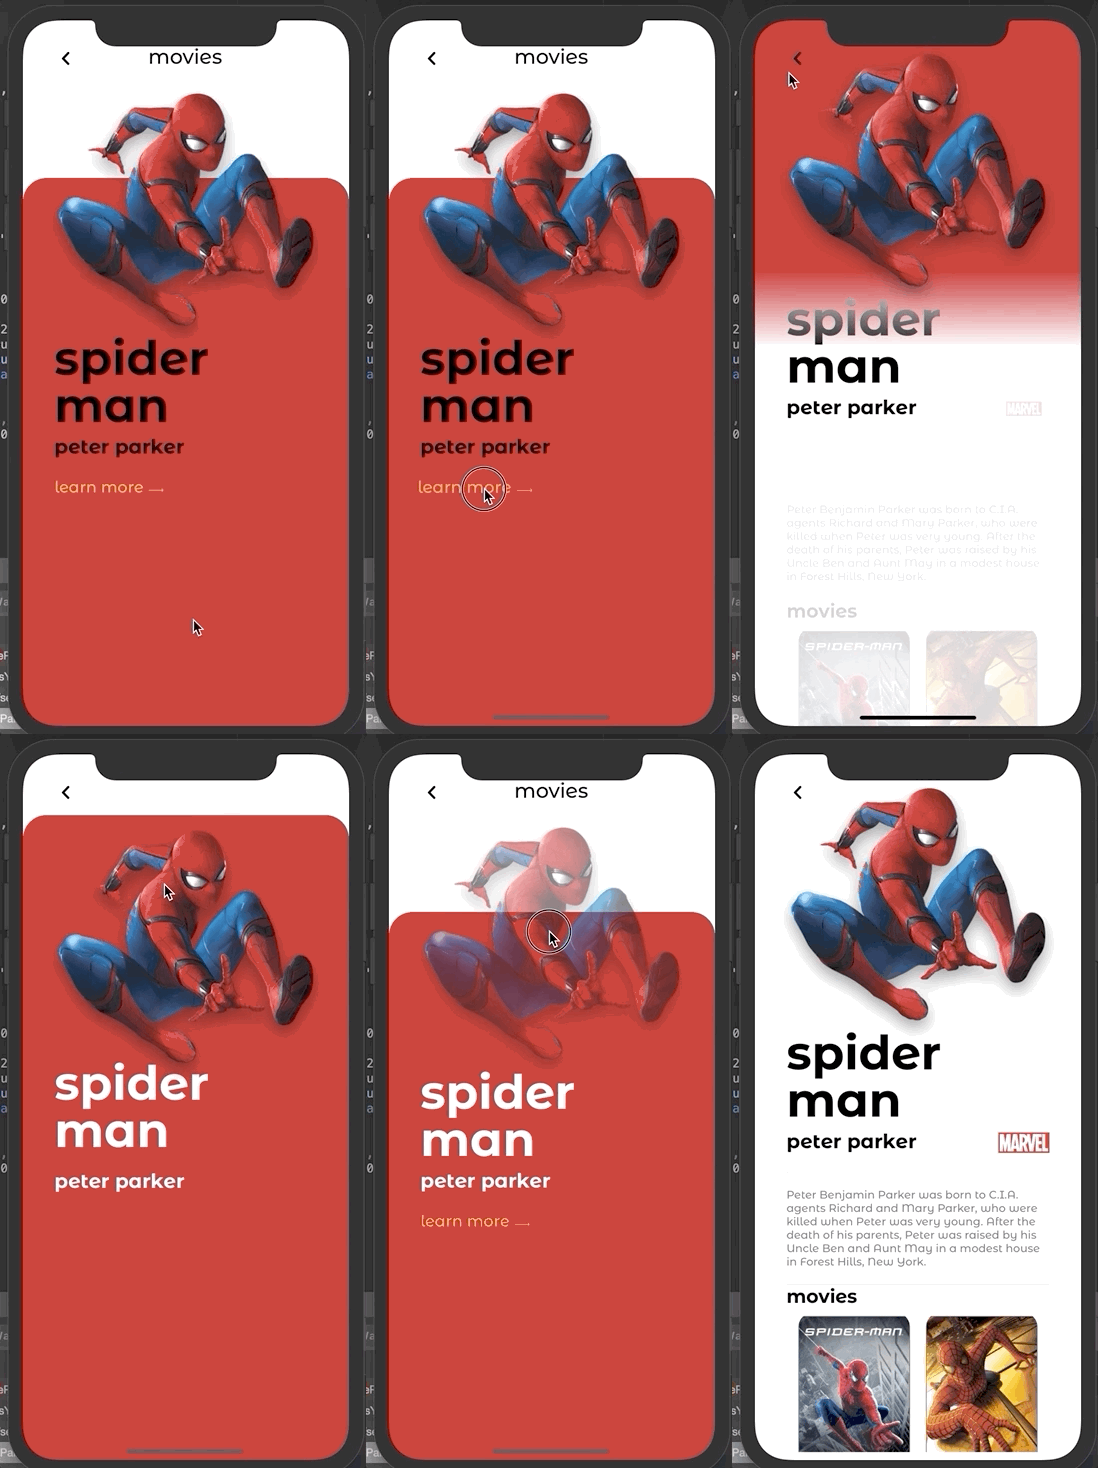
AFTER:
- I wish to make the “Learn more” label touch responsive.
- I want to make the back button touch responsive.
- I want to open a detailed page by the long press over the hero picture.
More examples you can find here: https://github.com/xamarin/XamarinCommunityToolkit/blob/main/samples/XCT.Sample/Pages/Effects/TouchEffectPage.xaml
Thank you for reading :)

